Everyone knows that publishing code directly to Production is not the best idea. Azure Static Web Apps offer the ability to automatically create a fully-functional staging environment for you when you want to publish new code.
I’m going to start this article based on the assumption that you’ve already set up your Azure Static Web App and the GitHub Action that is publishing your content to Azure. (Not yet? Here is a tutorial how to setup Hugo on Azure Static Web Apps)
Make the change
Begin with making a change to the code in your repository. Make sure you do this in a seperate branch. After you’ve made the changes, commit them to your branch.
Create a pull request
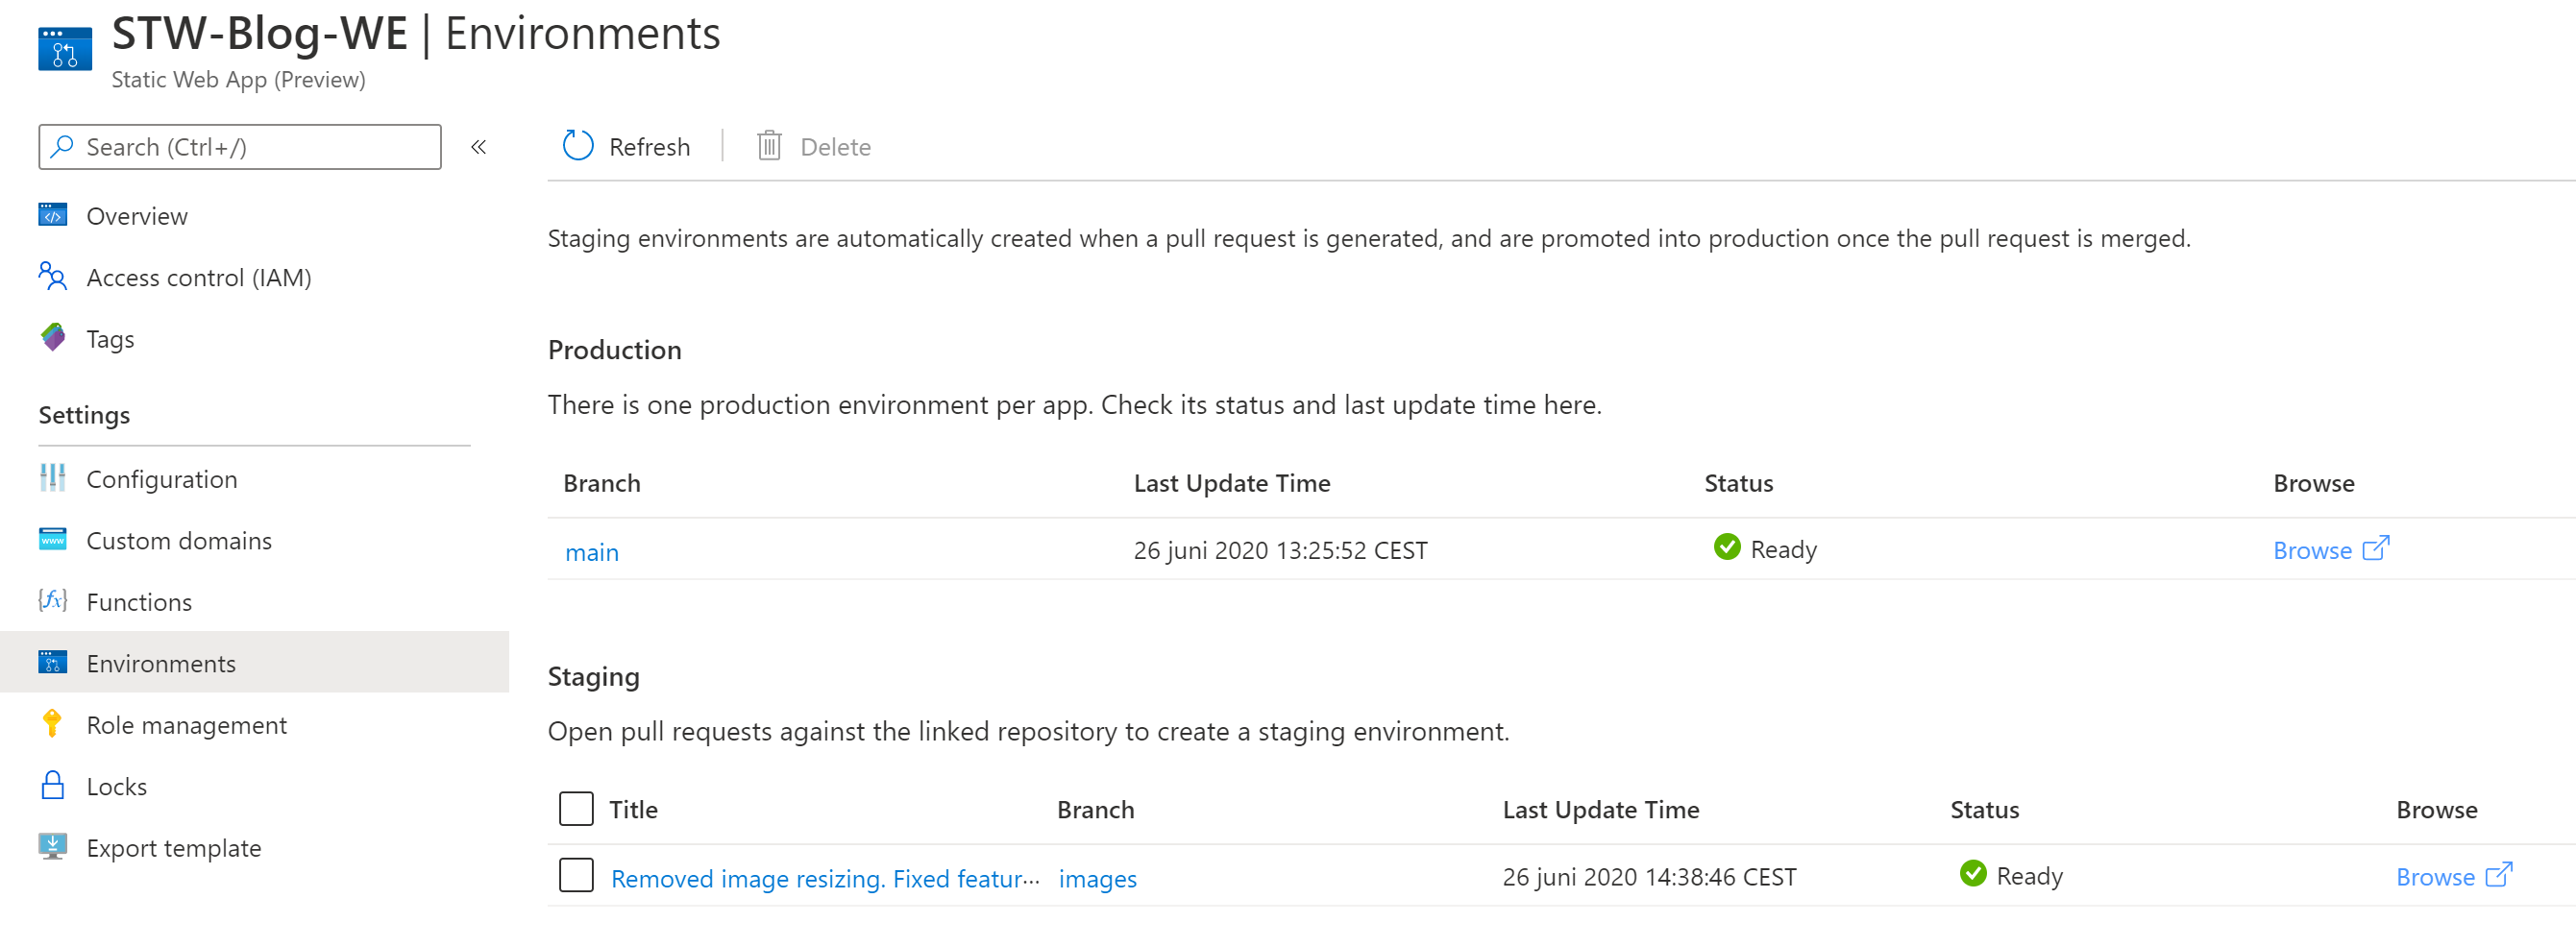
Next, create a pull request from this change. After the pull request is created, the GitHub Actions deployment workflow runs and deploys your changes to a staging environment.

Once the workflow has completed building and deploying your app, the GitHub bot adds a comment to your pull request which contains the URL of the staging environment. You can click on this link to see your staged changes.
For a given pull request, the URL remains the same even if you push new updates. In addition to the URL staying constant, the same staging environment is reused for the life of the pull request.
Publish your changes
Once you’ve reviewed your changes in the staging environment you can publish your code to production by merging the pull request. Your staging environment will be automatically deleted at this time.

The GitHub Action running on your main branch kicks in again to build and publish your code to your Production URL.